It’s been over a year since I closed Real Photography, and people always ask me if I miss it. The truth is that I don’t, because I still take pictures all the time! I thought I would share some of the pictures that I took last year over the next few weeks. I’m going to start with some Christmas photos because I figure those are only going to get less seasonal and more belated!
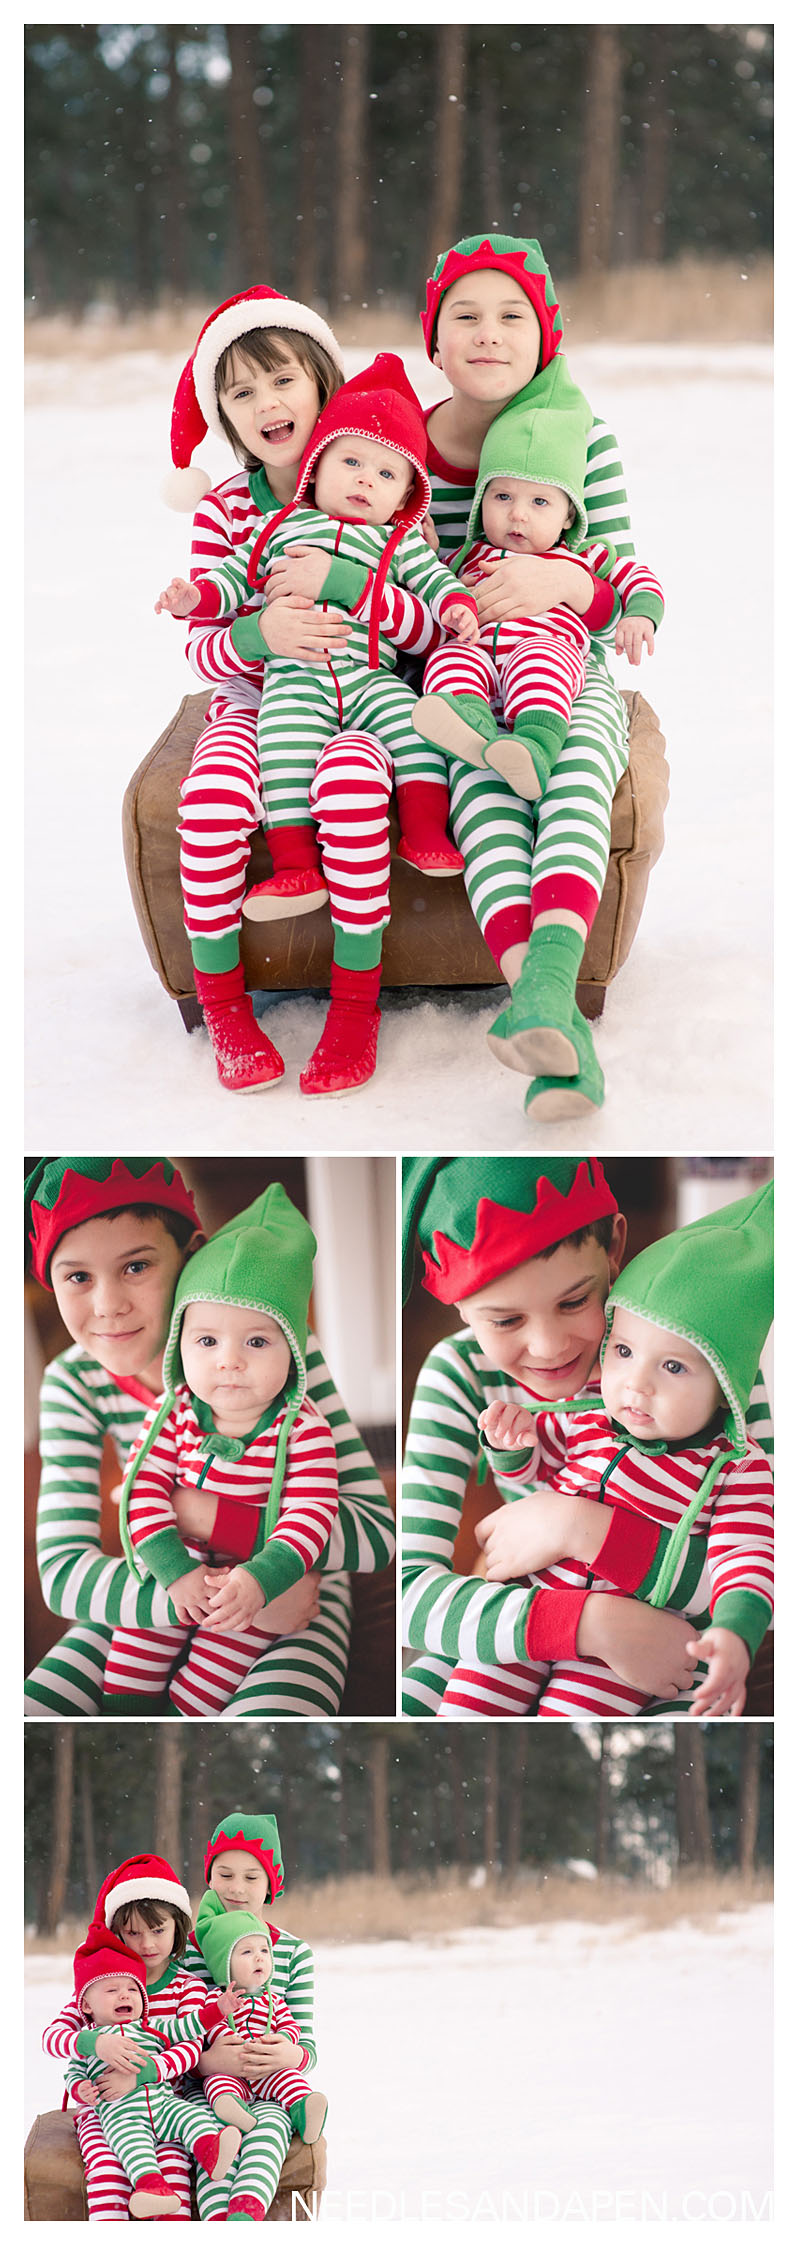
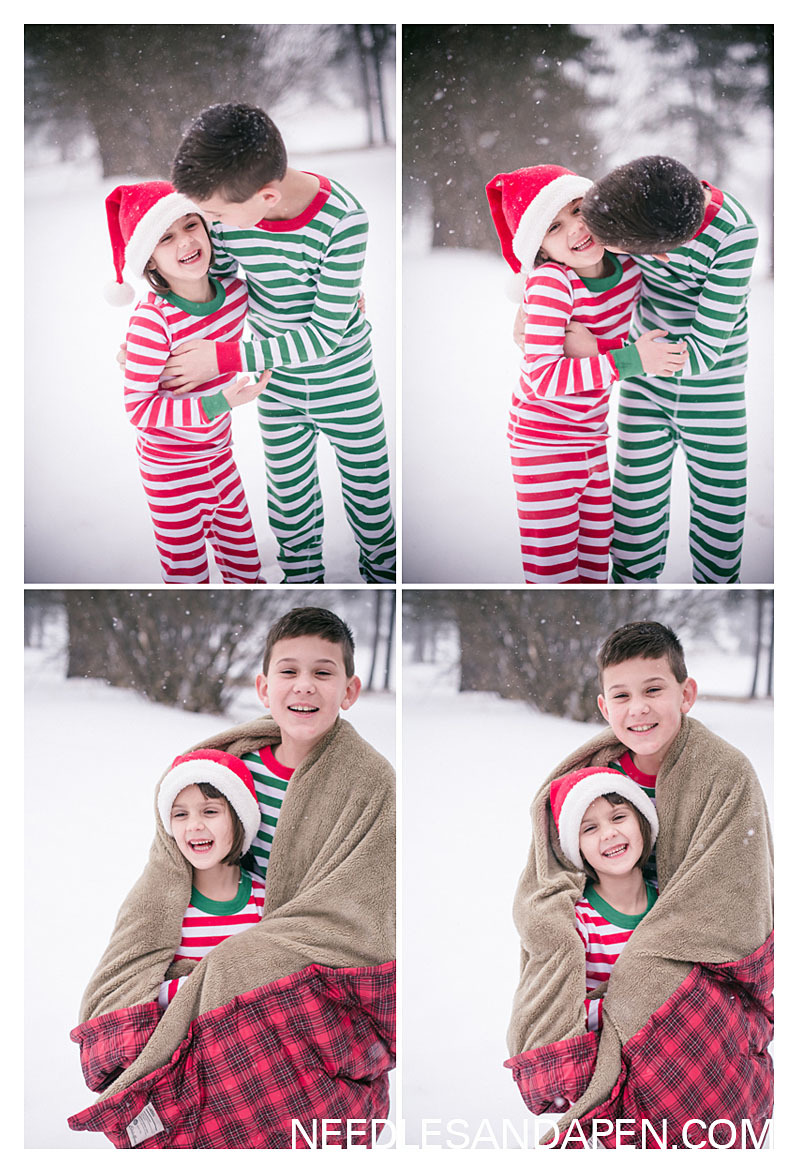
It was Will’s tenth Christmas in the classic striped Hanna Andersson jammies, and the best year yet since our favorite babies came to join us for Second Christmas (a new event and instant annual tradition)! It began snowing about an hour after they arrived and we hurried the kids into their jammies to get some actively snowing pictures! Don’t miss my favorite outtake in which Ellie and Pippa want new families and Sam and Will think “huh. snow.” And a few pictures from Christmas morning:
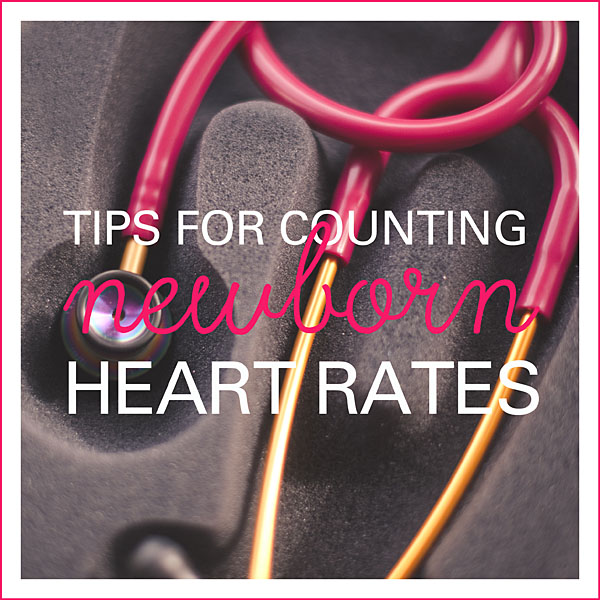
When I started as a CNA in postpartum/the transition nursery, I was absolutely horrified by the difficult time I had getting an accurate newborn heart rate. CNA school prepares you for adult heart sounds, not the twice-as-fast rates you’ll hear on a newborn! I had absolutely no confidence in the numbers I was getting and so I began to search the internet for tips and asked my coworkers for advice. Now, 15 months later, I want to share my tips for any new CNAs or Peds/OB nursing students who are struggling with those tricky newborn heart rates!
- Practice. All of the nurses that I would ask over dinner would say the same thing: “it gets easier–you just need practice.” I hated that answer! I wanted something that I could do to feel confident in the numbers I was getting that week–I didn’t want to suck for a month! But they were right. It gets easier with practice. The more you hear, the more you get used to those fast heart beats, the more you’re able to separate out the S1 and S2 sounds, and the more you’re able to count quickly! Any time I had a chance at work I would listen and count. But better yet, you don’t need to be at work to practice–you can practice as often as you like using recordings available online (here is a great one).
- Use the right tools–your stethoscope. The stethoscopes we have available at the hospital are just terrible for beginners. Not only are they terrible at amplifying sound, but they are standard adult sized stethoscopes. I’ll grab one now and then in a pinch and immediately remember why I used to think that it was so hard! When I got my Littman infant stethoscope, the difference was night and day. Yes, you might be spending an entire day’s salary on it, but it’s worth it! With an adult stethoscope you practically cover the baby’s entire torso, and you pick up all sorts of additional sounds. With a small infant stethoscope you are able to zero in on just the heart sounds, and when you’re a beginner this is a HUGE plus. Especially since you will often be trying to listen to heart sounds over the sound of the baby crying!
- Use the right tools–your watch. For Christmas my first year as a CNA I asked for a new work watch. I’m normally a small watch girl, but Nic got me this boyfriend style watch, explaining that he thought it would be nice for counting heart rates. I would never have bought it for myself, but after a single shift with it I could never go back! Having the second hand move so slowly and dramatically makes it easy to start and stop at precise points. It weighs about as much as a newborn baby, but I could use more arm muscles, anyway. 😛
- It’s okay to dance along. I’d read online a few times that people recommend closing your eyes and bobbing your head or tapping your foot to get into the rhythm of a newborn’s heart rate. It works. You may look a little dumb rocking out to a newborn’s rhythm, but the good news is you won’t have to do it for long. As you gain confidence and comfort you can ditch the tricks, but it really does help in the beginning!
- Counting tricks. In the beginning, I had a really hard time counting quickly and not losing my place. I would be thinking “28, 29, 30, 31, 32…wait, did I go 29, 30 or was that 39, 30? Am I ten off?” And I was also just not used to counting two and a half numbers per second! It becomes a mental mouthful! (And yet after a few months you’ll wonder how it was possible that it was ever difficult!) While you wait for the quick counting to become second nature, there are some nice tricks out there. My preferred method was that after 19, you could go “2, 1, 2, 3, 4, 5, 6, 7, 8, 9, 3, 1, 2, 3, 4, 5, 6, 7, 8, 9, 4, 1, 2 ,3, 4, 5, 6, 7, 8, 9, 5…” so that instead of having to say “twenty-two,” you were just saying “two” mentally. Since the Air Force counts flutterkick reps like “1, 2, 3, 4, 2, 2, 3, 4, 3, 2, 3, 4….” this was a rhythm I was used to.
- Use math to double check yourself. I always take note of the numbers I’m getting as I hit 10 seconds, 15 seconds, and 20 seconds. (I usually listen for just 20 or 30 seconds and then triple or double my number unless the baby’s heart rate seems to be changing or I get an abnormal number in which case I’ll count for the full 60.) By taking note of what I’m hearing at different intervals, I can run those numbers, too. Unless you were hearing the pace change as you were listening, the rates you calculate should all be similar. If not, you know your counting went wrong somewhere!
I’ve already shared one of the Dr Seuss quilts that I made for my nieces, but I realized that I never shared the second one! This is Nic’s favorite by far, because he feels strongly that all quilts should be made with minky backs. The panels are all from their momma’s favorite book. If I had it to do over, I’d avoid quilting over the squares made by four solid triangles, but I know the babies don’t care!

Remember when I used to make lots of stuff? Me, too. That was nice. Oh well. There’s a season for everything, right?
I thought I’d share this Christmas hat that I’ve been poking along with. I started it late in the Christmas season and had hoped to finish it before the semester started, but got sidetracked with deep cleaning projects. It’s Amy Miller’s Donder and Blitzen pattern, and I’m hoping it will be adorable when it’s all done! I picked the pattern based on the red and green Plucky primo worsted yard I wanted to use for a Christmas project. I never tracked down a suitable near-white in primo worsted, so I swapped in a white worsted yarn from a local yarn shop. The only thing I didn’t factor in was how long it makes the red strands of carried yarn. I have some concerns about sections where I may have pulled too tightly. Hopefully it all works out!
While I made several cute things this fall I lost a memory card in early December and so I’m missing pictures of a bunch of the cute things. (And probably of my kids, too, but I’m trying not to think about that.) Luckily, one of my favorite projects DID get photographed and those photographs DID make it onto my computer and so I present to you without further ado the box I made my sister for Christmas:
I modified this cross stitch pattern to make Jayne a little shorter so he’d fit. (The title of this blog post of course referring to one of Jayne’s best moments in Firefly.) A couple of things in this project made me a little crazy, like the actual painting of the box (I disassembled it before painting it and used masking tape and it STILL had the nerve to come out imperfect) or how the “shiny” didn’t end up being centered event though it totally was when I did the original math or how when I went to put it all back together I discovered that the hinge was on the LEFT of Jayne instead of at the top. But the beauty of making something for your sister is that you know she’ll see the love and not the flaws!
The box is from Target, in their craft aisle (though some locations are regularly sold out, you can get them online). I used a full 6 strands of regular embroidery floss for the project and the needle that comes with the box. To cover the back of my work (which is always a disaster) I cut a piece of cardstock to fit and popped it into the space (green in the above picture).
All of this just reminds me that it’s been too long since I binge watched some Firefly. Time for some laundry folding and Nathan Fillion, my friends!
Remember that time when I thought I could go to nursing school and work and have a family and post regularly on my blog? I am adorable sometimes.
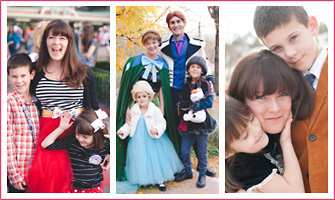
Anyway, for those of you still holding out hope that this little old blog will be updated, hurray! It’s finals week so OBVIOUSLY I am going to do a blog post. Because I firmly believe that hobbies are the antidote to crazy stress. I have a lot of posts to catch up on, but I’m missing my babies right now so I’m going to do a blog post in which I get to look at pictures of my babies, which means it’s time to share our best ever Halloween!
So, you know how when you have babies you get excited about all their first holidays and you dream up their costumes and can’t wait to see them in the outfit of your dreams? Now imagine that instead of that, your sister-in-law is me, and you have to dress your babies, yourself, and your husband up to fit their family’s fought-over-it-since-November-1st-of-last-year-and-finally-settled-on-a-theme theme. It takes a special sister-in-law to do that, but that’s the kind of sister-in-law I have!
Our theme for this year was the Pixar movie, Inside Out. Ellie was obviously going to be Disgust, because she totally nails that whole persona. I called Sadness, because Sadness wears a sweater and I live in Colorado and am no fool. We assigned Nic to Fear because he’s the tallest of our crew, and Will got Anger because (a) he’s the shortest male and (b) it was a costume we could get him excited about because I told him I’d make him a fire wig.
I got really excited about the theme once I started doing research for what other people had done for Inside Out cosplay. When I saw Riley’s imaginary boyfriend cosplayed I thought it was the coolest thing ever, so I shamelessly stole it for my brother-in-law. (While we’re talking about other people’s cosplays of Inside Out, how completely amazing is this girls’ Bing Bong?!) I had been trying to think of baby-friendly costumes, and when I realized the babies could be Joy and Bing Bong (switching off on our two nights of costume related events so that neither of them require therapy later) and sit in the “rocket” it felt like everything was going to come together beautifully. My sister-in-law could be Riley and we would have the movie well covered. (The babies ended up totally hating their rocket ship, but it still made for an excellent beer/supplies transporter, so not all was lost.)
Wigs: Ellie’s wig was an Amazon find, mine came from Epic Cosplay, and Riley’s wig (which ended up being much shorter than pictured) and Will’s wigs came from Arda. Will’s wig was the Malinda that we then tried to gel into its upside down shape (much harder than it seemed like it would be) so I ended up using bobby pins to secure it at Boo at the Zoo and sewed it up for Halloween night. To get the flame color Nic and I chalked it with yellow and two shades of orange. The color ended up being really cool, but I’m not sold on the styling. I should have devoted days (and bought glue) to get it the way I had pictured. Lesson learned. Nic’s single fear hair was a purple pipe clearer he attached to his head with double sided wig tape (everyone wanted to know how it was attached!!). His eyebrows were actually a purple mustache I found at Party City that I cut in half.
Outfits: I found Nic’s entire outfit on Amazon as well as my glasses. I know that Fear’s shirt isn’t actually purple, but when planning Halloween costumes I talk a lot about what is “emotionally correct” versus what is actually true to the film. (Which is how I ended up feeling about Riley’s imaginary boyfriend’s jacket that I found at the Salvation Army when in reality he wears a forest green button down shirt.) I bought a grey tie for Will and then used fabric paint to create the same design as Anger’s real tie, and Ellie’s belt buckle was a wooden “d” from Joanns that I painted green and covered in green glitter. I purchased her sweater on AliExpress, and made her belt, scarf, skirt and capris from fabric at Joanns. I spent a thousand years looking for the perfect Sadness sweater until I finally stumbled upon it accidentally at Costco. I knit Joy’s hat from some blue glitter yarn I found at Joanns, using a basic baby cap pattern that I customized with a ribbed brim instead of rolled (just because I like that better) and then I changed up the decreases at the end so that it would come to a point like Joy’s short hair. I made Bing Bong’s flower pin from felt, the rest of her outfit her momma found online. One of my favorite items just doesn’t come across in photos well. I bought a large “glowing orb” that changes colors as a memory ball for the kids/adults and a tiny one for the babies. You let it cycle through its colors and then just stop it on purple, red, green, yellow, or blue, for whoever was carrying it. It was really cool in real life after dark, you can just trust me on that one. 😉 I also painted the kids trick or treat bags the appropriate color and covered them in glitter, but it was kind of a disaster. I had wanted them to really look like memory balls with the tops cut off, but the closest shape I could find were the traditional jack-o-lantern treat bags and most of the glitter fell off. It was one of those “I’m in nursing school, this is good enough” moments.
|


Fran Cooper - Love this HAT!!!