Hi! I'm Traci. I'm a Registered Nurse who loves quilting, knitting, cross stitch, and the great outdoors. In my pre-scrubs life, I owned Real Photography, and you can still see my old wedding and portrait photography site here .
I've created a map that shows links to our camping/hiking/general family fun review posts that you can find here. It's pretty much the coolest thing on this site. Thanks, Google!
I great big puffy heart *love* comments, so please let me know you visited! I try to always reply!
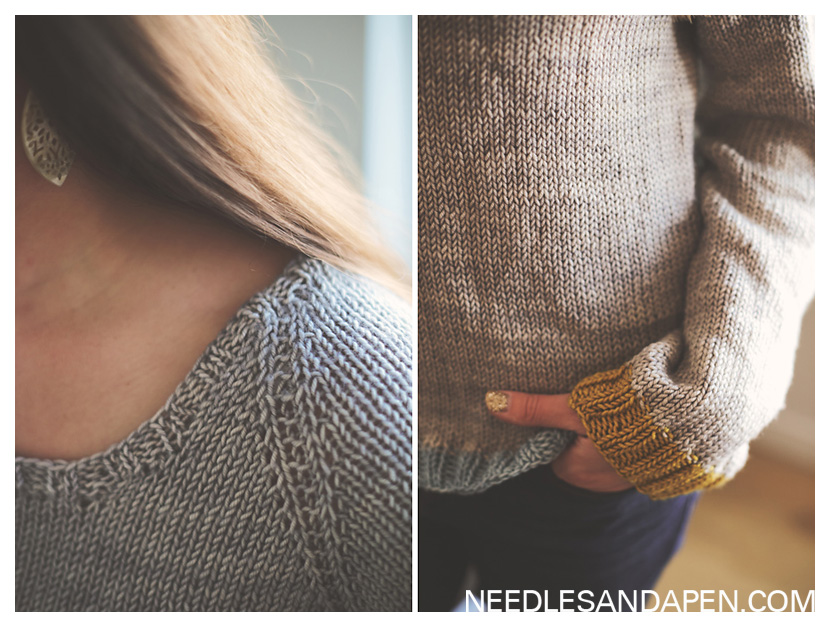
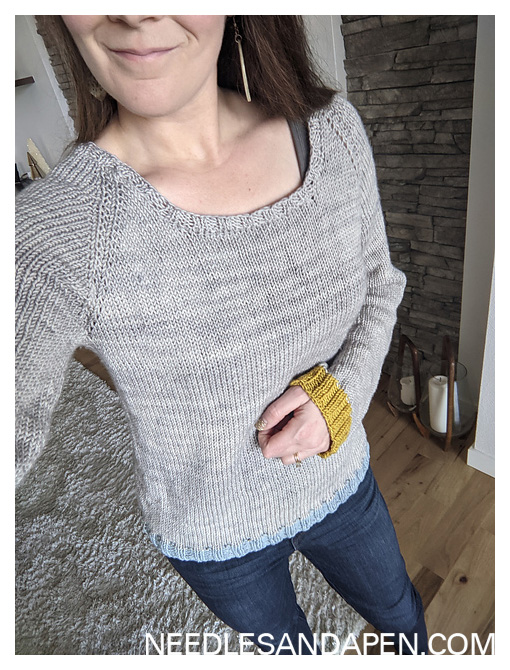
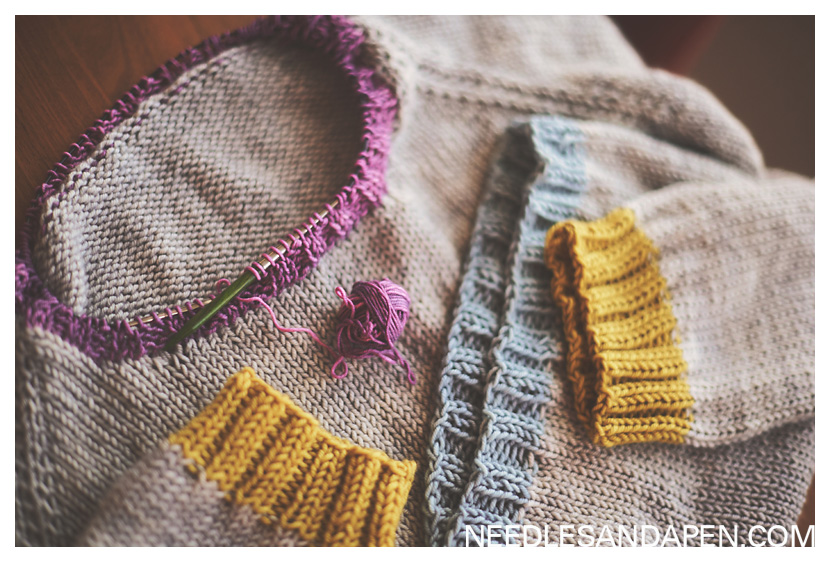
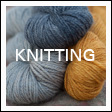
One of my biggest successes in January was finishing my first adult sweater! This poor sweater had no less than four (five? seven? Seriously–it was insane) necklines before it was finally done. It sat for 6 years just needing a neckline! (Actually, I had originally intended to frog the sleeves and reknit them smaller, but I’m older and wiser and have given up on perfection.)
One of the worst parts about making anything is the moment you ask yourself “would I have bought this at the store?” I’m not overly in love with the fit of the sweater, so honestly, no, I would not have purchased this sweater. I do, however, love that I made it my own self and after seven years it is no longer in my WIPS pile!
Pattern: Il Grande Favorito sweater
Yarn: Plucky Knitter in Primo Worsted Gray Club #1 Hi Ho Silver with accents in Princess Phone and Early Light
In January I was on a roll finishing off some very old WIPS. I started this pair of Knucks when I was pregnant with Ellie. I was disappointed to find that the first one was a little too small for me, but, knowing I was pregnant with a girl baby, I figured I could finish them and they would not go to waste!
Fast forward 11 years and all of a sudden that little fetus is on the edge of being too big for them too! I prioritized finishing them for her birthday and she was SO excited that the gloves she’d seen me working on were for her. The hard part is convincing her to wear them–she’s always worried about ruining them.
Yarn: Pretty sure this was made with Brooklyn Tween that I purchased at Purl while in NYC, but I can’t remember and sadly didn’t note it in Ravelry at the time!
Pattern review: the adult size knit up a little small for me, but since I didn’t swatch I have only myself to blame. The pattern is quick to knit and easy to follow–a really fun project
The way the Lotus Flower Beanie pattern uses yarn, you have enough to make a flipped version of your hat. Ellie was the recipient of this colorful version of my Lotus Flower Beanie. As Nic said, “it’s a little crazy, just like her!”
My neighbor Anji is the amazing baker behind Whiskey Cake Wisdom. In thanks for the many drool-inducing slices of cake she leaves on my doorstep, I made her an RBG apron to celebrate Inauguration Day! (A little bit behind on blog posts over here!)
Fabric: Spoonflower RBG print in quilting cotton. I’m not a huge fan of the qualify of Spoonflower fabrics, but I’ll make sacrifices for some RBG fabric!
Pattern: Cafe Apron Tutorial that I have used manymanymany times over the years! Seriously–look at this amazing blast from the past when I was in the babe-on-hip years!
I’m kicking 2021 off with this post about my biggest 2019 project!
In 2019 I stepped back from sewing and got to work learning carpentry, something I’d wanted to learn for years. My biggest project? A remodel of our office closet shelves. I wanted floating shelves that would span the 7 foot wall that would ALSO support hundreds of pounds in photo albums.
While this walk-in closet is in our office, I wanted to retain the ability to hang clothes in it should that be desired, so I designed it to have four shelves along the longest wall and just one along the short wall so that a clothing rod could be added.
I chose heights for the shelves that would accommodate my biggest photo albums and the rubbermaid tubs I use for yarn storage. The best part of making your own shelves is being able to customize the height for your specific storage needs!
BEFORE:
AFTER:
I spent most of September 2019 working on this project, which offered a lot of opportunities for frustration, swearing, learning, and triumph.
There were some delightful moments of hilarity, too, like when I used the paint our builder left us with the label “bathrooms/closets” to touch-up the walls of this closet. Our builders’ gifts just keep on giving. 😛
I spent a considerable amount of time online trying to learn how to make such a long floating shelf (7 feet) that could support such a heavy load of photo albums without sagging. A couple of things that really helped:
Adding a lip to the front of each shelf. I’d originally planned to simply caulk and paint the front of each shelf, but adding a hickory (for maximum strength) front lip made a HUGE difference in its stability. These suckers are STRONG.
Using brad nails to secure the top of each shelf to its frame. I was shocked at how noticable the difference was.
If you stick a level on the bottom shelf, it DOES bow a tiny bit in the center, however after after over a year of being heavily loaded, the deflection hasn’t grown any larger and it remains super strong. While everything online would tell you it’s probably futile attempt such a long span of floating shelves for books (and especially not exceptionally heavy photo albums), I’m glad I went for it! This closets holds a TON now–I was able to move a lot of items from our storage room into it!
While the construction held its challenging moments (I hate the wall anchors I used on this project and found it very difficult to reliably get the screw to thread back into its anchor), the hardest part was the painting. I *hate* painting. It’s so difficult to get things looking beautifully smooth!
One thing I *do* love, though, is DAP. It’s worth the time to caulk up the seams. It is the secret trick that takes something from looking DIY to looking professional. It’s basically the eyebrow filler of carpentry.
Here’s a little peek at the difference some DAP can make!
I occasionally post ad banners and affiliate links for products and companies I believe in to offset the cost of hosting this blog. Rest assured that if you see it on the blog, I'd recommend it to you in person!